1.1. Document sets
Document sets combine two classes of documents into one coherent whole. Binding is done by linking common indexes in two different classes, e.g. bar code index in class A and bar code index in class B. Thanks to sets you can search two related documents.
After entering Administration -> Electronic archive -> Document sets the following view will appear: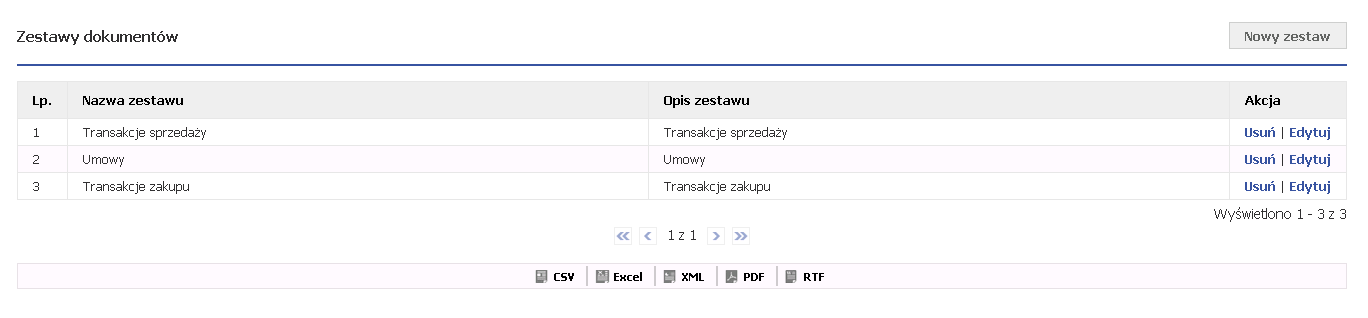
Figure 6.4.1 above view shows a table with created sets of documents.
The table with the list of sets has the columns "Set name", "Set description", "Action" in which you can delete or edit selected sets. The set list can be exported to CSV, XLS, XML, PDF, RTF formats.
1.2. Adding a document set
To add a new set, click on the "New set" button (see figure 6.4.1). After clicking the button, the following form will appear:
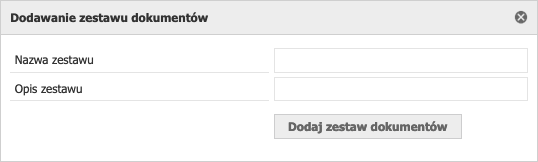
Figure 6.4.2 shows the form for adding a new set of documents.
To add a new data set, enter the name of the set being added and its description. Then click on the "Add Document Set" button.
Attention! Adding a new data set is not the same with its proper operation! The document set will work correctly when the index association between the document classes is created.
Editing a set of documents

Figure 6.4.3 shows the view after entering the document set edition.
After adding a new set, you must edit it so that you can use the set. To do this, click on the "Edit" button next to the selected set of documents (see Figure 6.4.1).
In edit mode, a form similar to the form for adding a new set of documents will appear, except that the name and description fields will be filled with values. If you want to change the name or description, enter the new value in the appropriate field and confirm the change by clicking the "Change document set" button (see Figure 6.4.3). Under the form there are three tabs: "Indexes", "Relation" and "Protection", which respectively mean:
1.2.1. Document set indexes

Figure 6.4.4 shows the "Indexes" tab in the document set change form.
Indexes work in the same way as document class indexes (see "Document class indexes" in Document classes ). In the document set, we add indexes that we want to link between two document classes. To do this, click on the "New index" button (see Figure 6.4.4). After clicking the button, a form for adding a new index will appear:
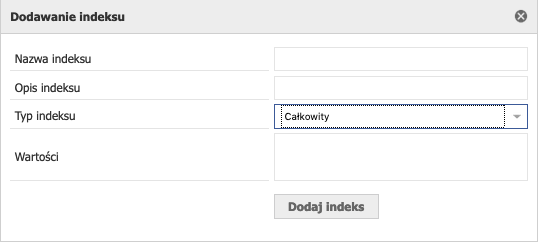
Figure 6.4.5 shows the add index form.
As you can see in the figure above, to add an index, you need to fill in the following fields:
- Index name - the recommended name is the same index name as in the document class, e.g. class A index "Bar code" and class B "Bar code", also included "Bar code",
- Index description - any description,
- Index type - list of values: total, floating point, text, date, date and time, list of values and logical. The index type must be identical to the one in the document class, e.g. "Bar code" is a text type, in the set it must also be a text type,
- Values - in this field we can define the default index value, e.g. in case the given index was empty in the document class.
After completing all the values, click the "Add Index" button (see Figure 6.4.5). The procedure of adding the index is repeated as many times as you want to have the data displayed.
1.2.2. Relations
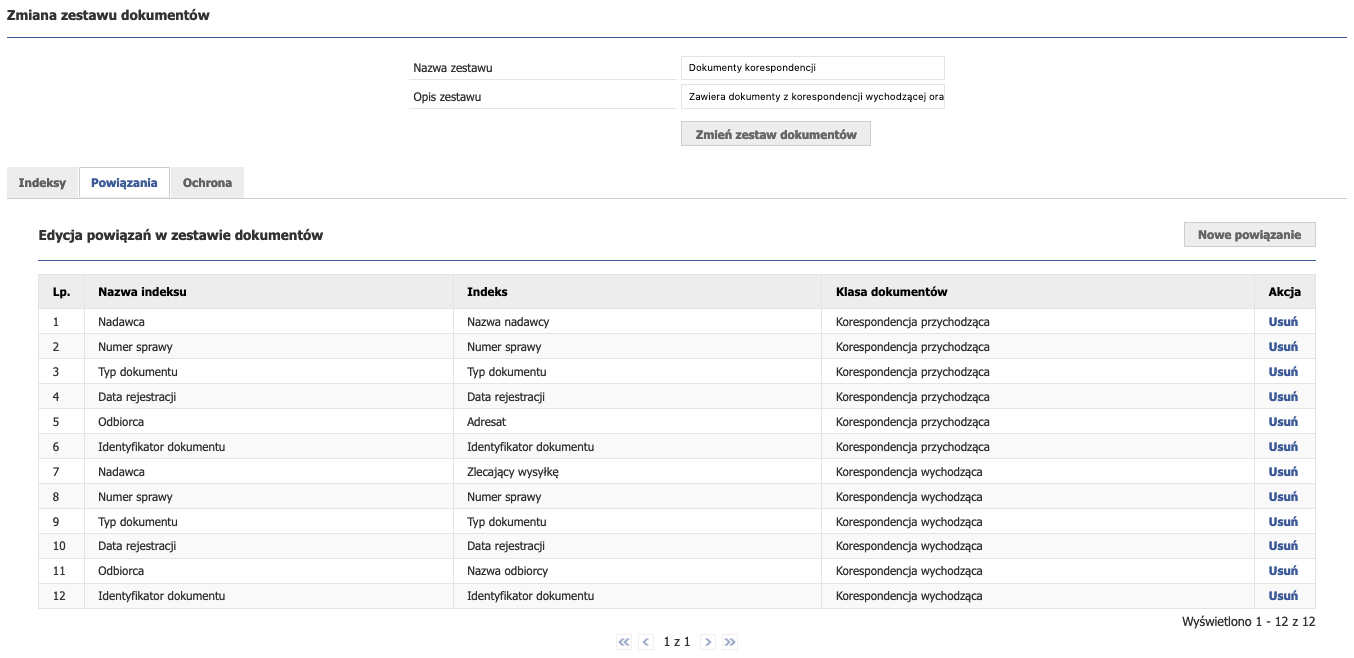
Figure 6.4.6 shows a table with associated indexes in document classes.
In the links tab we link the indexes of document classes that we have previously defined in the indexes tab. In order to link indexes, click on the "New link" button (see Figure 6.4.6). The form for adding a new index appears:
Figure 6.4.7 shows the form for adding index association to a document class.
Important! To link indexes, you must first create indexes on the "Indexes" tab. Otherwise, the system will allow you to select only the document class and you will not be able to link indexes. If you don't add any indexes, the form for adding new bindings will look like this:
Jeśli wcześniej dodaliśmy indeksy w zakładce "Indeksy" i chcemy utworzyć nowe powiązanie, pojawi się nam formularz (patrz rysunek 6.4.7) w którym wyświetlane są "Nazwa indeksu" oraz nazwy indeksów które wcześniej utworzyliśmy. System potrafi samodzielnie przypisać indeksy z klasy dokumentów, jeśli utworzone indeksy w zestawie dokumentów mają taką samą nazwę oraz taki sam typ jak indeksy w wybranej klasie dokumentów. Jeśli jednak indeksy w zestawie dokumentów i zestawy w klasie dokumentów mają inną nazwę, należy je wybrać ręcznie, np. indeks z zestawu dokumentów o nazwie "Nadawca" należy dopasować ręcznie do indeksu w klasie dokumentów o nazwie "Nazwa nadawcy". Ważnym jest, abym pilnować nazw indeksów w zestawie dokumentów. Jeśli będziemy posiadać indeksy o tej samej nazwie i o tym samym typie, co indeksy w klasie dokumentów, to system sam rozpozna indeksy i je powiąże, co bardzo ułatwi nam pracę.
Należy również pamiętać, aby zestaw dokumentów nie posiadał większej ilości indeksów niż powiązane klasy dokumentów.
1.2.3. Ochrona
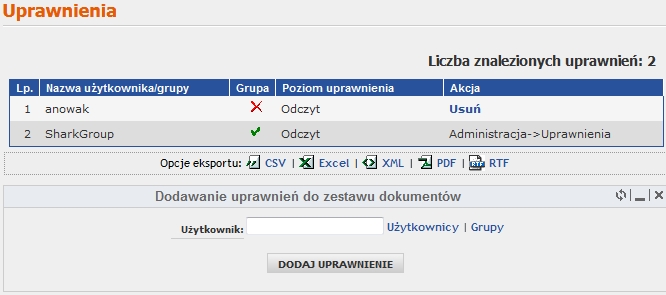
Rysunek 6.4.3 przedstawia widok w zakładce "Uprawnienia".
W tabeli na rysunku mamy przedstawione dodane uprawnienia dotyczące edytowanego zestawu dokumentów. Kolumna "Grupa" określa, czy uprawnienie dotyczy grupy, czy użytkownika. Natomiast kolumna "Akcja" umożliwia usuwanie i edycję uprawnień, dodanych tylko z tego poziomu. Dla uprawnień dodanych globalnie (patrz Zarządzanie uprawnieniami) mamy informację w postaci "Administracja -> Uprawnienia". Z takimi uprawnieniami nie możemy w tym miejscu nic zrobić, gdyż są one jedynie informacyjne. W tabeli widać, że użytkownik "anowak" ma uprawnienie do wyszukiwania dokumentów należących do klas dokumentów powiązanych w tym zestawie. Zostały mu one nadane w tym miejscu. Takie uprawnienie można usunąć za pomocą przycisku "Usuń". Drugie uprawnienie jest dla grupy "SharkGroup". Zostały one nadane w uprawnieniach globalnych.
Pod tabelą znajduje się formularz dodawania uprawnienia do edytowanego zestawu. Należy wybrać użytkownika bądź grupę. Wybór ten odbywa się za pomocą przycisków "Użytkownicy" bądź "Grupy". Po naciśnięciu pierwszego przycisku ukaże nam się okno z wyborem użytkowników (patrz rysunek 2.3 oraz jego opis w Zarządzanie grupami). Po naciśnięciu przycisku "Grupy" otworzy się okno z wyborem grup (patrz rysunek 3.2 i jego opis w Zarządzanie użytkownikami). Na koniec dodajemy uprawnienie za pomocą przycisku "Dodaj uprawnienie".
1.3. Usuwanie zestawu dokumentów
Każdy zestaw dokumentów możemy usunąć za pomocą przycisku "Usuń" w kolumnie "Akcja" (patrz rysunek 6.4.1). Po kliknięciu na przycisk "Usuń" system zażąda odpowiedzi czy jesteśmy pewni. W tym celu klikamy na przycisk "Ok'.